




10 Minutes reading time
The world is increasingly communicating visually. Whether you want to explain a complicated software problem, document a meeting, or create a gaming clip, the ability to record your screen is indispensable today. Screen Recording has evolved from a niche tool to a core competency for education, business and Content-Creation developed.
This guide will tell you everything you need to know about the topic: from the basic functions of a screen recorder to legal aspects and practical step-by-step instructions.
What is a screen recorder?
A Screen Recorder is software that captures all visible actions on your screen and converts them into a playable video file. It records not only visual elements, but optionally also audio – both system sounds and microphone input.
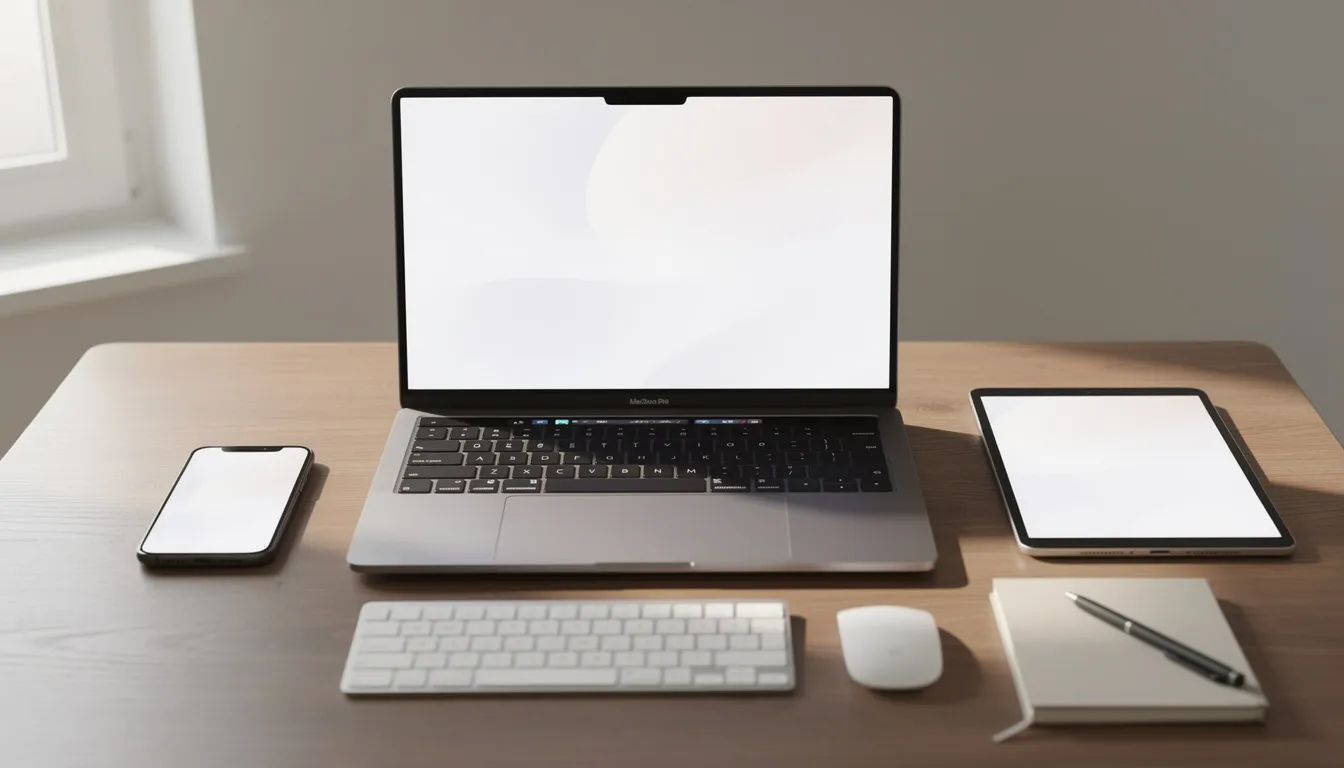
Its uses are diverse: from recording Zoom meetings and creating software tutorials to gaming sessions and WebinarsCompanies use screen recording for training videos, while content creators use it to fill their YouTube channels.
Here's how you can start screen recording right away:
- Select program: Choose between a free or paid recorder
- Define recording area: Full screen, single window or custom area
- Select audio source: Microphone for voice, system sound for app sounds, or both.
- Start/stop recording: By click or keyboard shortcut
The market offers various options: completely free solutions like OBS Studio, freemium models with limited features, and professional pro tools with a full range of functions. Depending on your needs and budget, you can find the right solution.
Features of a modern screen recorder
Modern screen recorders offer far more than simple recording functions. Their core functions have evolved significantly in recent years. Years, significantly further developed to enable professional results.
Recording modes and areas:
- Full screen recording for presentations and gaming
- Partial area capture with movable overlay
- Window capture for focused software demos
- Multi-monitor support for complex setups with multiple devices
Audio functions:
- System audio recording (sounds from apps and browsers)
- Microphone integration for comments and explanations
- Combining multiple audio sources simultaneously
- Integrated volume controls for separate tracks
- Additional audio recorder for pure sound recordings
Video options:
- Frame rate between 30 and 60 FPS for smooth playback
- Resolution up to 4K or even 8K for premium products
- Hardware acceleration via GPU encoding (e.g., NVIDIA NVENC, Intel Quick Sync)
- Reduced CPU usage – typically below 10–20% with modern hardware
Real-time tools for tutorials:
- Mouse highlight to emphasize cursor movements
- Click effects for better visibility of actions
- Drawing mode with pen, arrows and text during recording
- Real-time annotations for interactive explanations
- Keyboard input display for shortcut demonstrations
Screen recording on various platforms
Screen recording options vary depending on the operating system. Here you'll find an overview of the most important platforms and their integrated and external solutions.
Windows 10 and Windows 11
On Windows, you have access to the integrated Xbox Game Bar, which you can access using the keyboard shortcut Win+G You activate it. It's particularly suitable for gaming recordings, but has limitations in terms of flexibility. For more professional requirements, external tools like OBS Studio (free, open source) or the Icecream Screen Recorder, which offers a user-friendly interface, are recommended.
macOS (including Sonoma 2024)
Apple has built a powerful integrated screen recorder into macOS. Using the keyboard shortcut... Shift + Cmd + 5 Open the recording panel. There you can choose between full screen, selected window, or custom area. You can also set a timer and save the recording location. For more advanced features, many Mac users turn to QuickTime or third-party apps.
Linux
On Linux, OBS Studio is the top choice for screen recording. This open-source tool supports various distributions and offers professional features such as scene transitions and multi-source mixing. Alternatives like SimpleScreenRecorder offer a more streamlined interface for simpler use cases.
iOS and Android
Mobile devices have democratized screen recording. iOS introduced the native feature in iOS 11 (2017), accessible via the Control Center. Android followed suit in Android 11 (2020), although many manufacturers had already integrated their own solutions earlier. Typical use cases on smartphones include app demos, social media clips for TikTok and Instagram, and gameplay recordings.
Free vs. paid screen recorder
The decision between a free screen recorder and a paid version depends on your needs. Both options have their merits.
Free options:
- Completely free: OBS Studio, VSDC Screen Recorder Free – usable without restrictions
- Freemium models: Free basic version with watermark on the finished videos
- Trial versions: Limited time trial (7-30 days) with full functionality
Price ranges for Pro Tools (as of 2024):
- Basic Pro versions: approximately 20–40 euros one-time fee
- Professional Suites: 180–270 euros for lifetime licenses
- Subscription models: between 5–20 euros per month
Advantages of paid versions:
- No watermarks on the finished photos
- Unlimited recording time without a time limit
- Extended export formats: MP4, MKV, MOV, AVI and more
- Integrated video editor for post-production
- AI-powered features such as noise reduction and auto-editing
- Professional support and regular updates
Recommendations based on intended use:
Free solutions are ideal for beginners, hobby projects, and school assignments. If you regularly produce training videos, work for a company, or are a content creator, investing in a pro version is worthwhile. The time saved on post-production and the professional quality quickly justify the cost.
Key use cases for screen recording
Screen recording has established itself as a versatile communication and documentation tool. Its applications extend across almost all industries and areas of life.
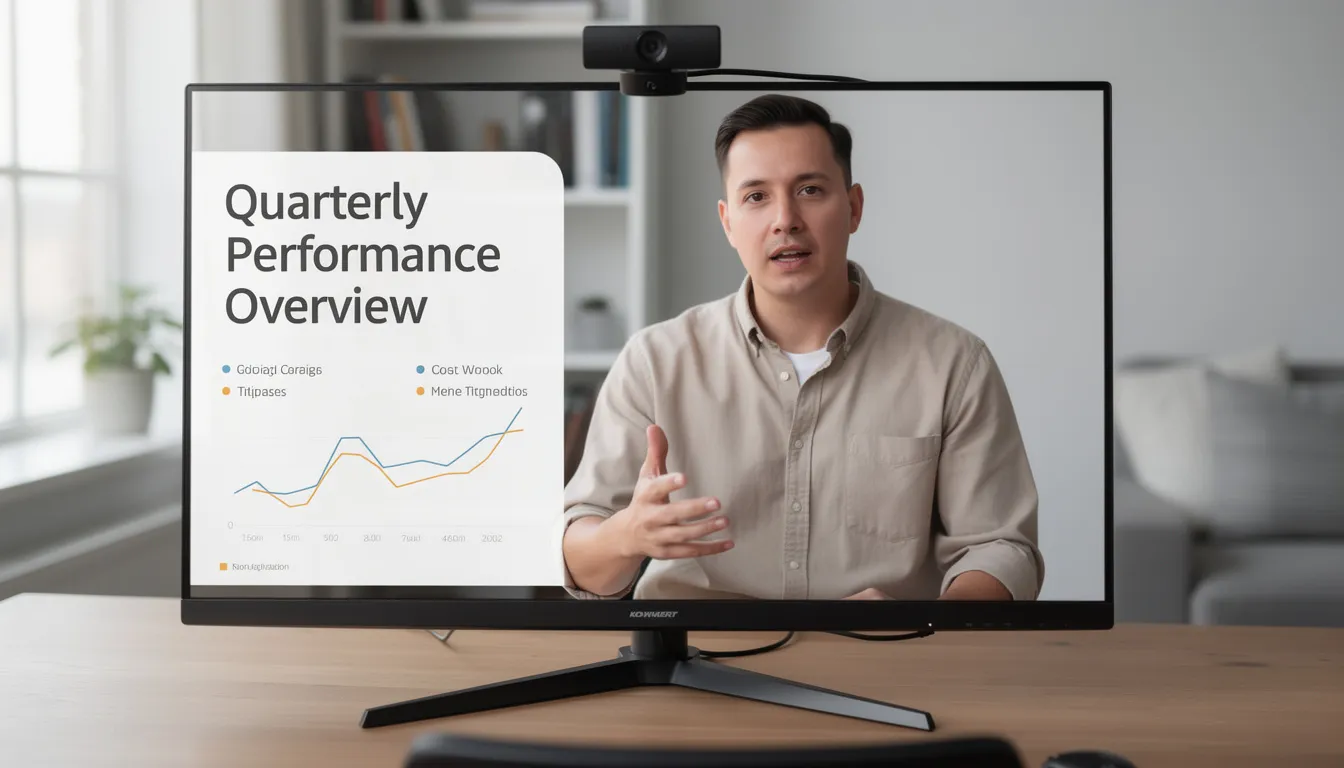
Education & E-Learning
- Video Tutorials for software processes such as Adobe Photoshop or Microsoft Excel
- Recorded lectures for universities and online courses
- Step-by-step explanatory videos for pupils and students
- Interactive learning materials with annotations and highlights
Business & Remote Work
- Recording of Microsoft Teams and Zoom meetings for absent participants
- Product demos and desktop videos for sales and marketing
- Onboarding videos for new employees
- Video messages as an alternative to long emails
- Bug reports with visual documentation – developers report 70–80% faster problem resolution.
Gaming & Streaming
- Recording of PC and console games in Full HD or 4K
- Microphone commentary for Let's Plays and Walkthroughs
- Optional webcam overlay for picture-in-picture presence
- Streaming to Twitch or YouTube with professional tools
Content creation & social media
- Creation of explainer videos for YouTube and learning platforms
- Short clips for Instagram Reels and TikTok (vertical videos are on the rise – 70% of educational content uses this format)
- Post-production with subtitles and effects
- Content for Google– and optimize social media algorithms
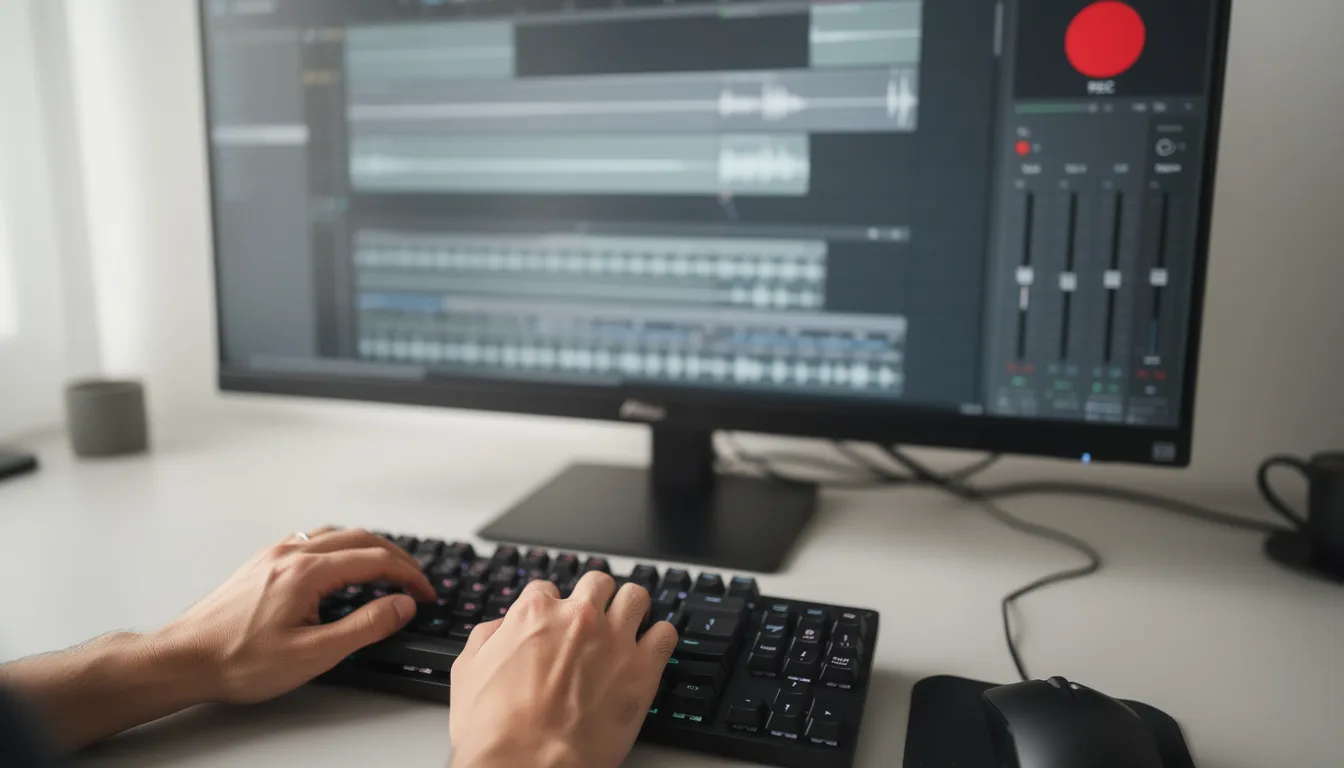
Here's how to record your screen step by step.
Successful screen recording follows a clear workflow. This guide works regardless of the tool used and is based on a typical setup under Windows 11.
Step 1: Install or open the screen recorder
Download a recorder of your choice or use your system's built-in solution. After installation, open the program and familiarize yourself with the interface.
Step 2: Select recording source
Choose your recording mode:
- Full screen for presentations
- Single window for focused demos
- Custom area for specific cutouts
via a dropdown menu or a Toolbar You select the desired option.
Step 3: Set audio sources
Activate the required audio sources in the settings:
- System tone for app sounds
- Microphone for your voice
- Both combined for comprehensive documentation
Step 4: Set quality and output format
Select the technical parameters:
- Format: MP4 for universal compatibility
- Resolution: 1080p for most purposes
- frame rate: 30 FPS for tutorials, 60 FPS for gaming
Step 5: Start recording
You can start recording by clicking the record button or using a configured keyboard shortcut. Many tools display a countdown or a discreet indicator.
Step 6: Stop recording and save
End the recording using the same button or the stop button. The file will be automatically saved in the default "Videos" folder or a user-defined folder.
Tip for more efficient recordings:
Set up keyboard shortcuts for start, stop, and pause. Most tools allow you to customize these shortcuts in the settings. This way, you stay in your workflow and don't have to switch between windows.
Edit and share screen recordings
After recording, video editing often follows to achieve a polished final result. You don't need a professional editor for this – many recorders come with basic functions.
Basic processing steps:
- Cutting and trimming from beginning to end
- Removing slips of the tongue or pauses
- Adjust speed for time-lapse or slow motion
- Post-process audio (adjust volume, reduce noise)
- Adjust image cropping afterwards
Typical editing for video tutorials:
- Inserting text panels and title slides
- Arrows and markers for emphasis are added.
- Add intro and outro slides for branding
- Subtle background music
- Insert screenshots as still images
Share finished videos:
- Upload to YouTube, Vimeo or Microsoft Stream
- Sharing via company intranet or learning platforms
- Export as MP4 or MOV for presentations in PowerPoint or Keynote
- Link-Sharing via cloud services for fast access
- Downloads for offline use are enabled
Improve accessibility:
Add subtitles – automatically generated (modern tools achieve up to 95% accuracy) or manually created. This not only improves accessibility for people with hearing impairments, but also comprehension in noisy environments and discoverability. search engines.
Legal and data protection aspects of screen recording
Before you press the record button, you should consider some legal aspects. In Germany, there are strict rules regarding data protection and privacy rights.
Pre-recording checklist:
- Obtain consent: For meeting recordings (Zoom, Teams), you must inform all participants beforehand and obtain their consent – the GDPR requires this.
- Respect personal rights: People may not be recorded and published without permission.
- Respect copyright: Do not record or distribute copyrighted streams (movies, series, sports broadcasts) without the appropriate rights.
- Protect confidential data: Hide customer data, internal documents, and sensitive information before recording.
Clean the screen before recording:
- Disable notifications (email, messenger, Chrome notifications)
- Close sensitive emails and documents
- Hide customer data and passwords
- Close irrelevant windows and tabs
- Clean up desktop icons
Especially important for companies:
Establish clear guidelines for the use of screen recording in the workplace. Define who is allowed to record, how recordings are stored, and who has access. For cloud-based tools, check the data storage locations and encryption.
Frequently Asked Questions about Screen Recordings (FAQ)
Can I record offline with screen recorders?
Yes, most programs work completely offline. An internet connection is only needed if you want to upload the finished videos or use cloud features. The recording itself takes place locally on your device.
Are there time limits for free recorders?
This varies greatly depending on the tool. OBS Studio and some other open-source solutions have no time limit. However, many freemium versions limit recording time to 5–15 minutes or add a watermark. Check the limitations before using them.
Can I record system audio and microphone audio simultaneously?
Yes, most modern recorders support recording both audio sources simultaneously. In the settings, you'll typically find separate options for "System Audio" and "Microphone." Make sure both are enabled and the volume is adjusted appropriately.
Which file format should I choose?
MP4 is the recommended standard for universal compatibility. This format is supported by all platforms and players and offers a good quality-to-size ratio. Alternatives such as MKV, AVI, or MOV have specific use cases but are less universal.
Do Screen Recorders support webcam overlays?
Yes, many modern tools allow you to overlay a webcam as a picture-in-picture. You can adjust the position and size of the overlay. This feature is especially useful for explainer videos and Let's Plays.
Key insights
- Screen recording is now an indispensable tool for education, business, and content creation.
- Free solutions like OBS Studio are sufficient for many use cases.
- Each platform offers integrated options, complemented by powerful third-party software.
- Please observe data protection and copyright laws before taking any photos.
- MP4 is the universal output format for maximum compatibility
Conclusion
Screen recording has evolved from a technical niche to a core competency of the digital world. Whether you're creating video tutorials for clients, sharing company news, or visualizing design feedback – the possibilities are virtually limitless.
With the right recorder and a little practice, you can create professional content without expensive equipment or years of experience. Modern tools make getting started easier than ever.
Start today with a free solution and discover how you can communicate your ideas more effectively. The evaluation of your first recordings will show you where you can improve – and with each subsequent recording, you'll gain confidence.